Table of Contents
What Can Be Controlled Manually?
I. Labels
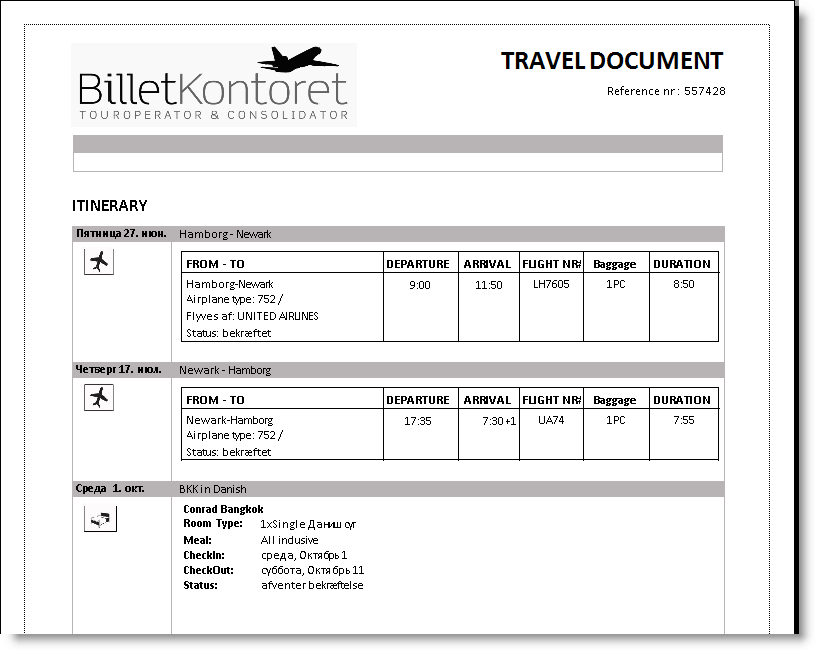
Labels – are the titles and some standard text displayed in Itinerary. It can be edited for each Company and Brand in Tools → Company Settings → Report Labels (select the Report Type, Language and Translation you need to get the labels displayed).
For example, as it used to be hard to understand what '+1' means after the time of arrival with the Earth turnaround during the flight, a label for it was added in Company Settings → Report Labels → Itinerary: DetailsPnrSegmentPlusDays with '* day(s)' text. The amount of days is calculated automatically.
II. Images
(implemented in ‘TravelDocument’ for JTB and in 'Itinerary' for Agents, missing in ‘Itinerary’ report for BK)
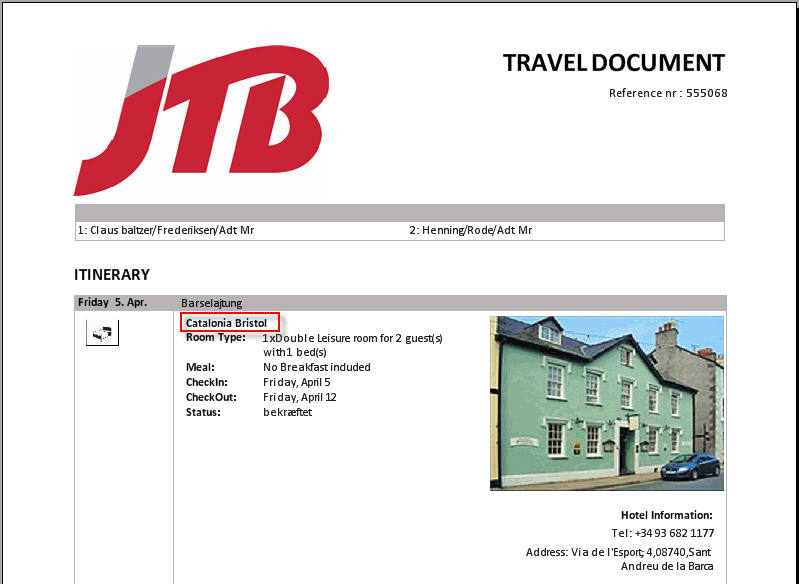
- Images become taken from ‘Hotel’, ‘Sightseeing’ and ‘Transfer’ profiles from ‘Images’ tab (depending on Itinerary template).
- Images can be moved in the above mentioned forms up and down, the image which goes 1st will be displayed in Itinerary.
III. Country Description
(implemented only for 'Agent Itinerary' report)
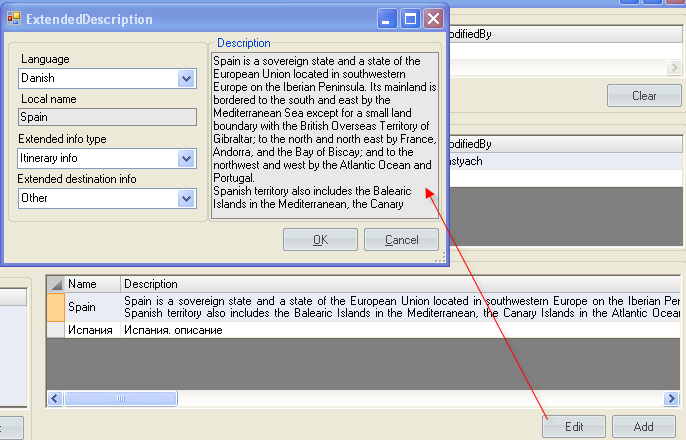
Main destination country description and image can be displayed in Agents Itinerary.
It can be created and edited in Tools → General data → Geographic Places → Countries…:
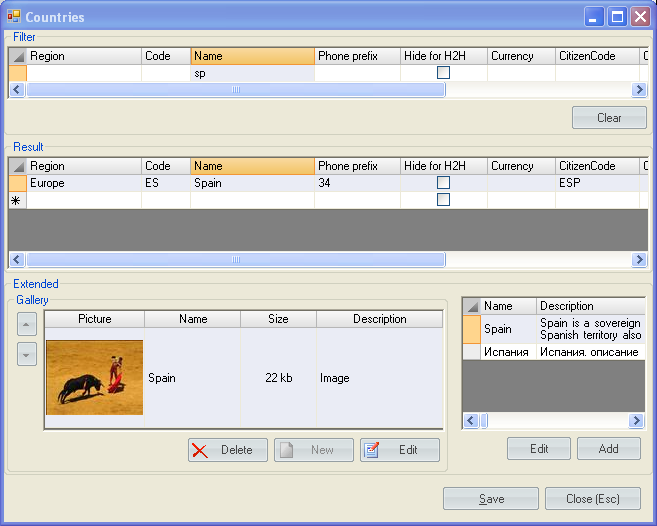
Language set for a country description in that form must correspond the one you use in Brand, in our case it is Danish:
IV. Service Description
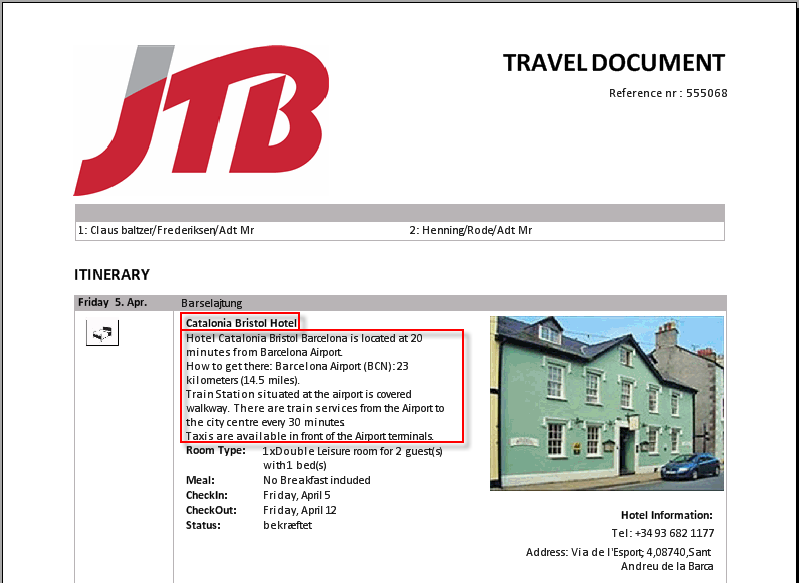
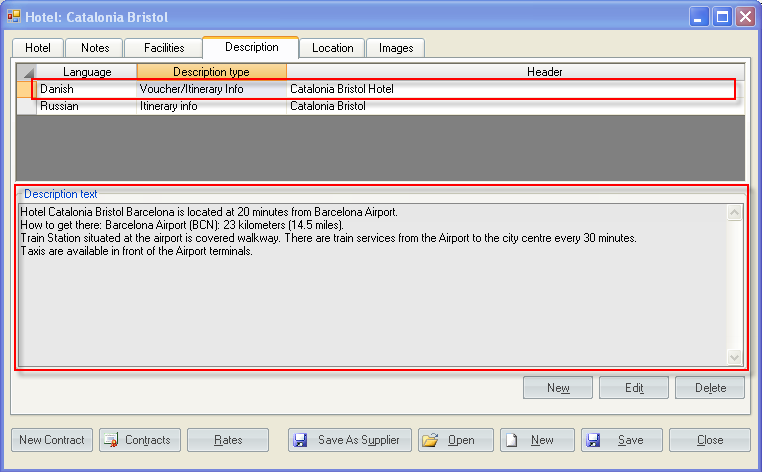
Service (i.e. Hotel, Transfer or Sightseeing) description can be created and edited in the form of the service in ‘Description’ tab.
To define that description should be displayed in a Travel Document,
set ‘Voucher/Itinerary Info’ in ’Description type’:
By default service description is not displayed in a Travel Document.
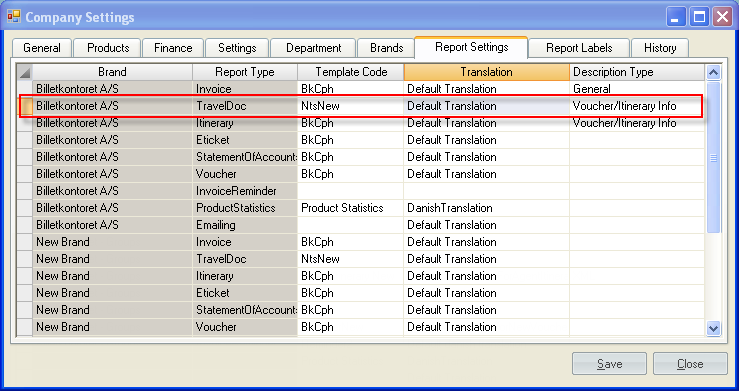
To enable service description for a report in main TravelWise menu go:
Tools → Company Settings → Report settings
and set the same Description Type, which you selected in a Service’s form (in our example – ‘Voucher/Itinerary Info’):
V. Custom Description (Hotels/Tours)
This type of description overrules the ones described above, but it works only for hotel (tour) segment.
The form with option is available by 1 right click of a mouse on a hotel (tour) segment.
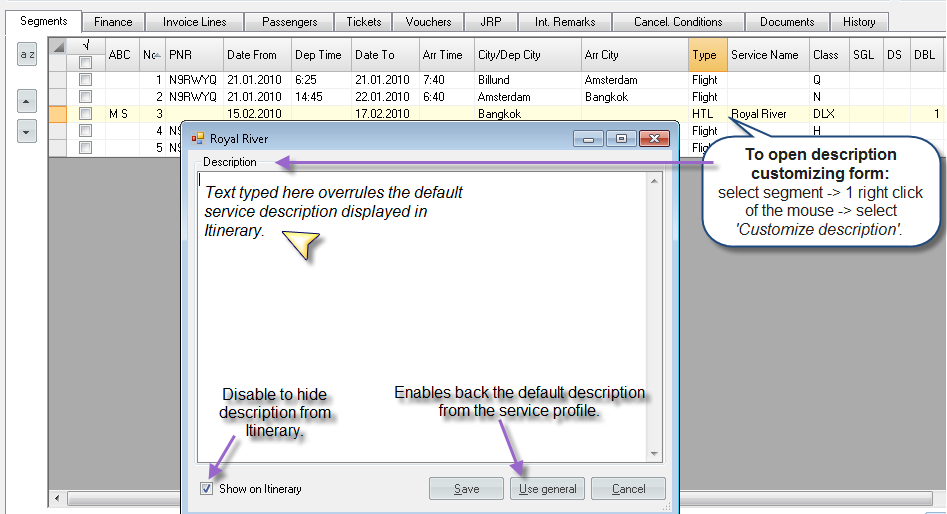
By default 'Customize description' content is enabled and contains general description taken from hotel ('Use General' button in 'Customize description'). But if supplier changes some key conditions and itinerary has to be edited for a client, then make any corrections in the text of the form or disable 'Show on Itinerary' checkbox to hide the hotel description at all.
The main logic is: if we change description manually in this form - then it replaces standard hotel description in Itinerary; in case nothing is changed, then general description is shown; if 'Show on Itinerary' is disabled, then no description is displayed in the report.
VI. Segments Exported in Itinerary
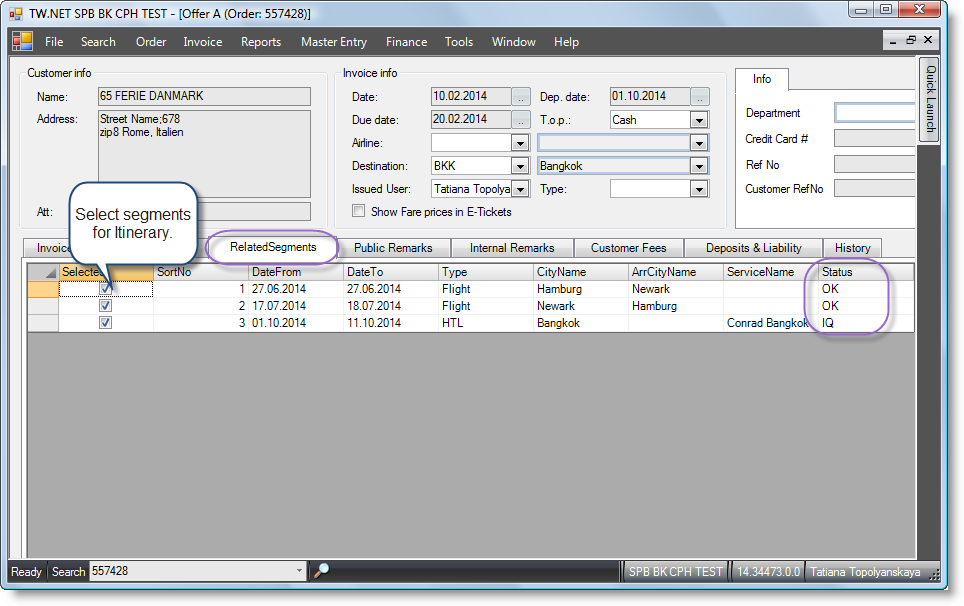
Navigation: Invoice → Related Segments
Sometimes it is needed to generate Itinerary only for some specific segments.
For that purpose:
- 'Related Segments' tab in Invoice form exists.
- There are all Order segments presented at this tab and sorted same way as they are sorted in the Order.
- Segments with 'OZ' status are highlighted with red color.
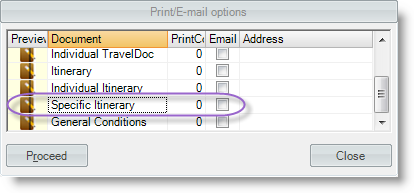
- In 'Print/e-mail options' specific itinerary setting is unselected by default and can enabled here only manually in the ranks of current case.
How to export selected segments in Itinerary
1. Select in Invoice which Order segments to include in Itinerary:
2. Print/E-mail Options → Specific Itinerary:
3. Itinerary Report Preview
